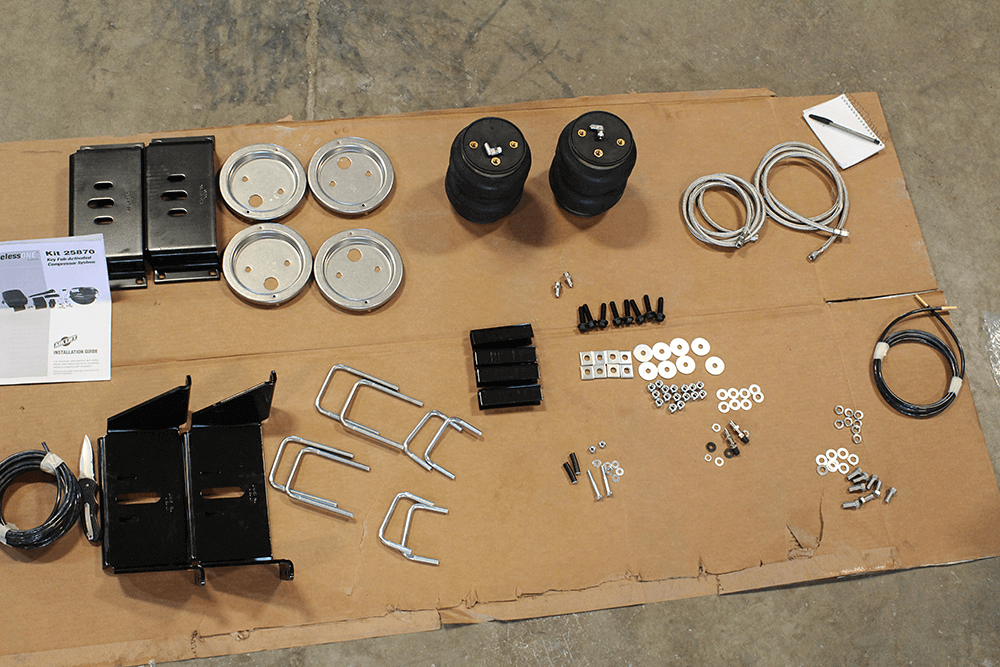
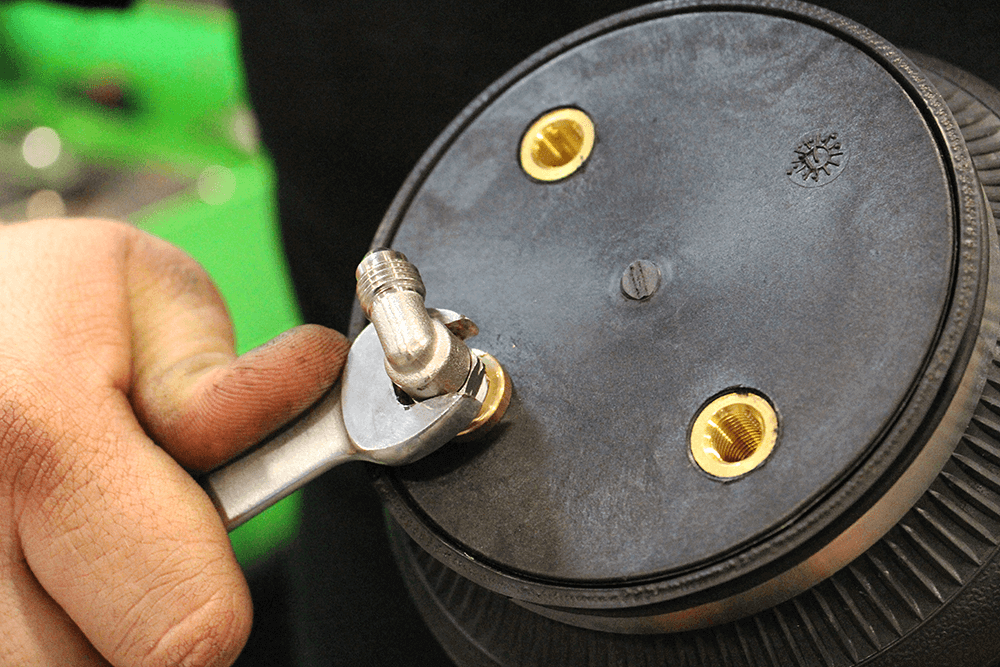
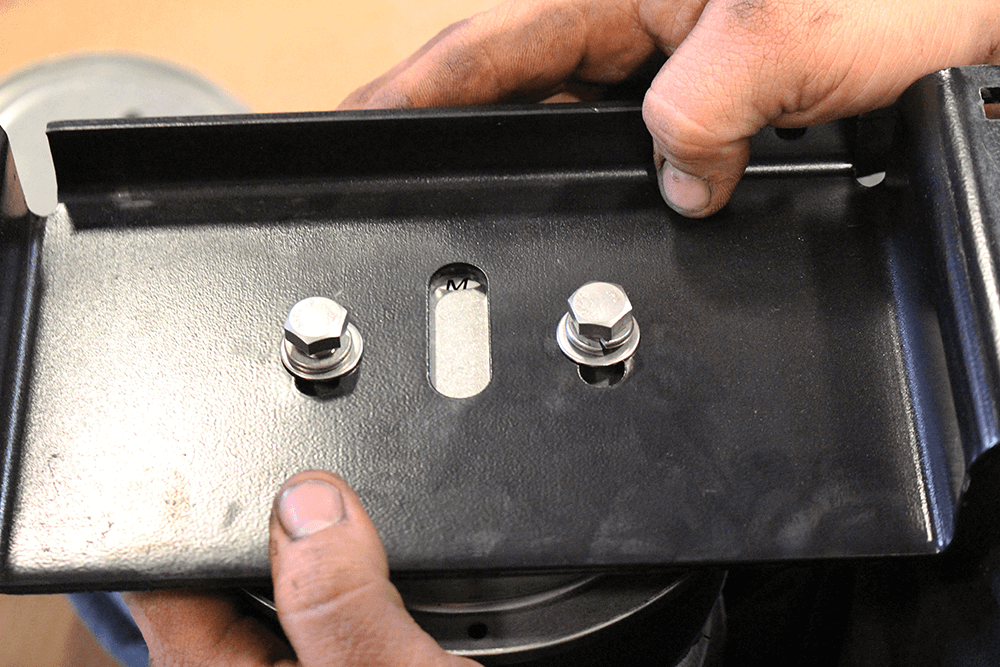
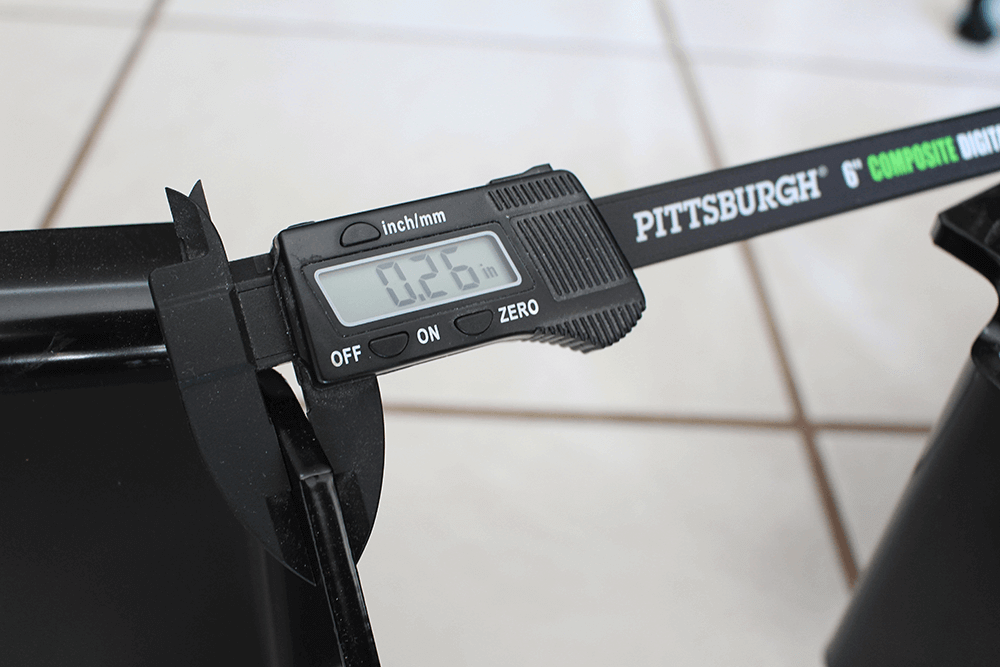
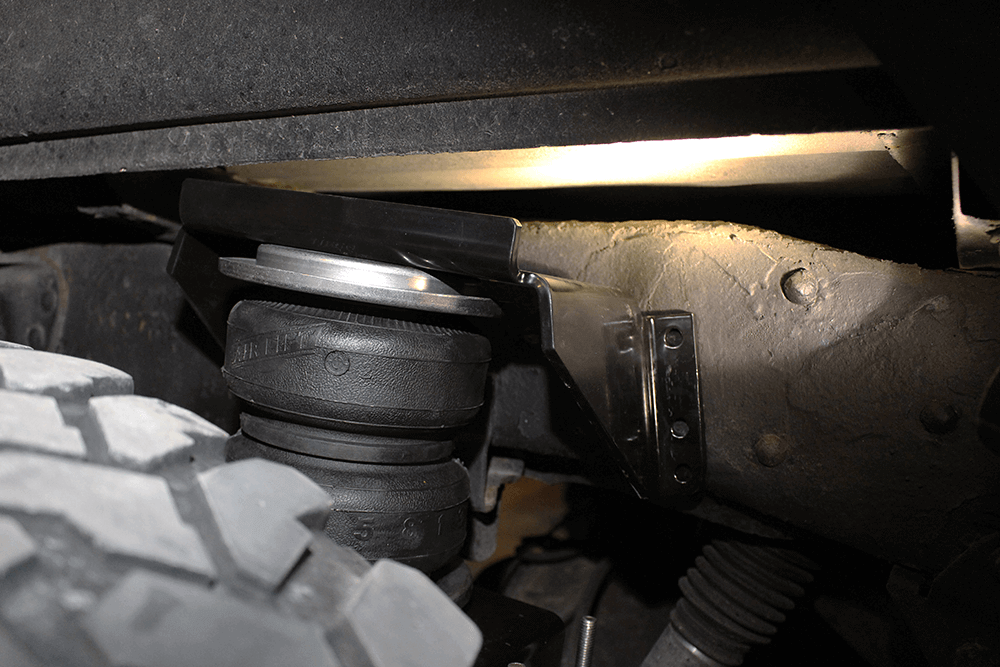
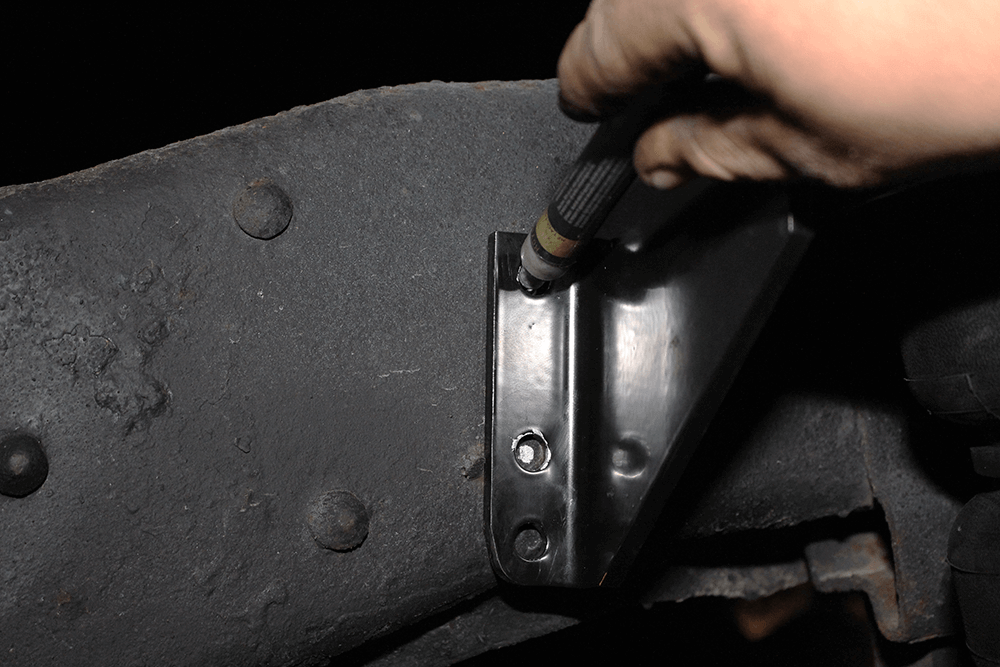
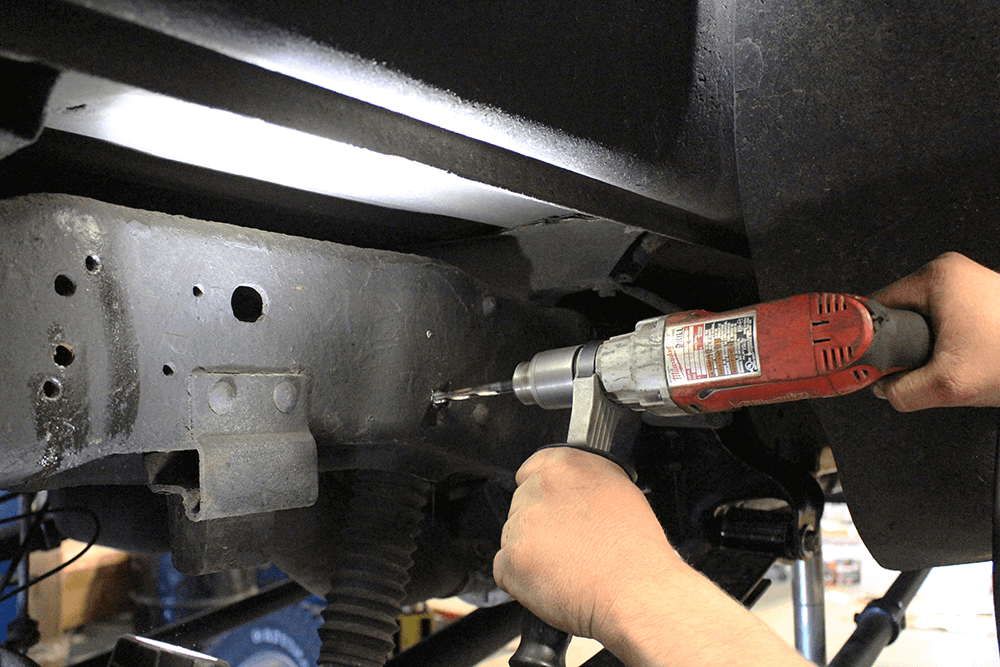
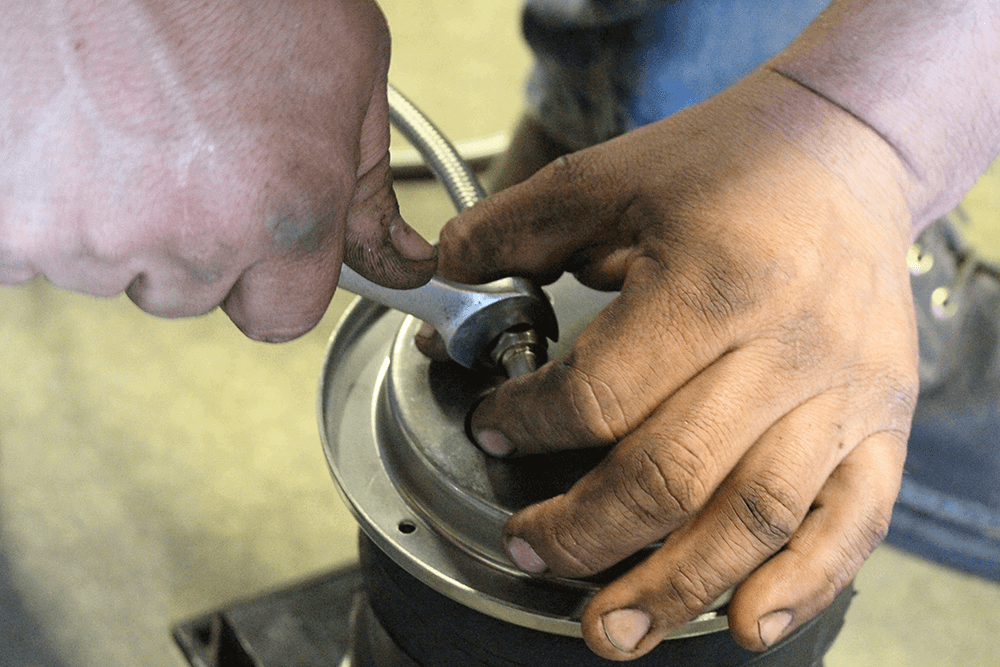
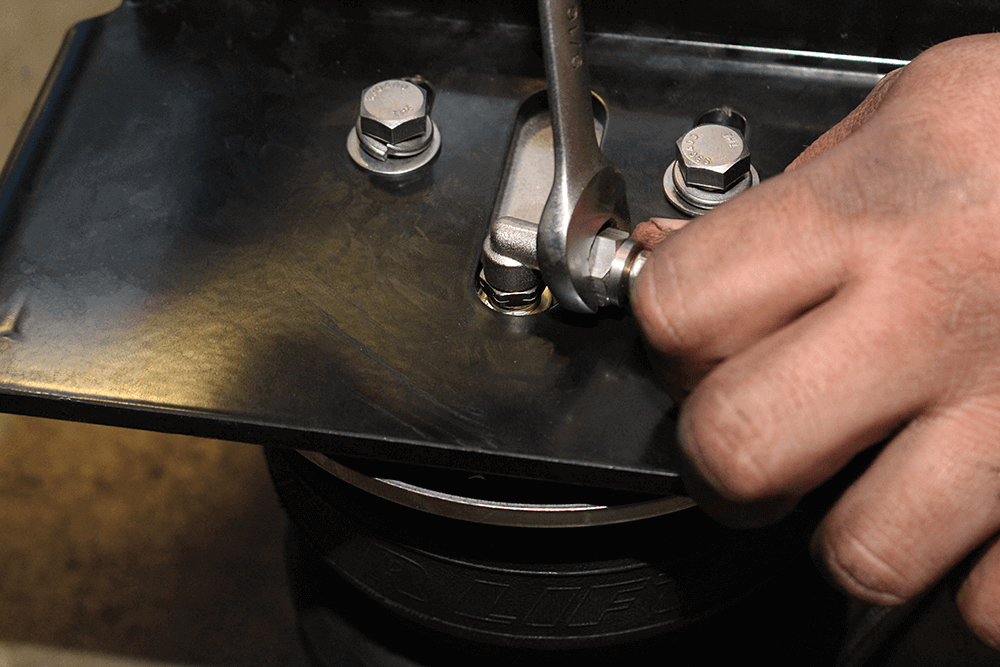
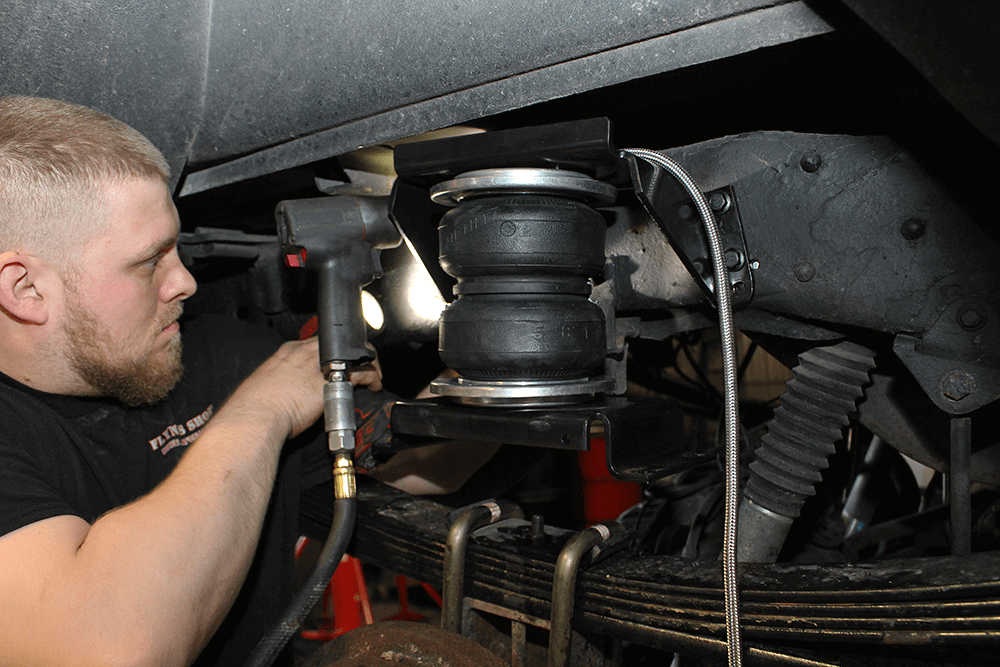
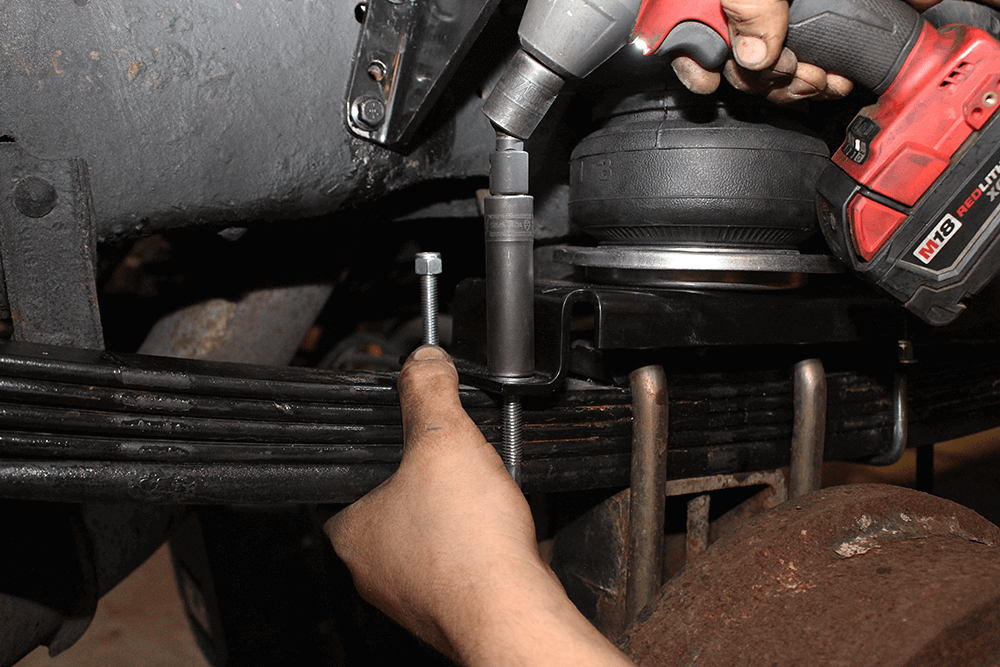
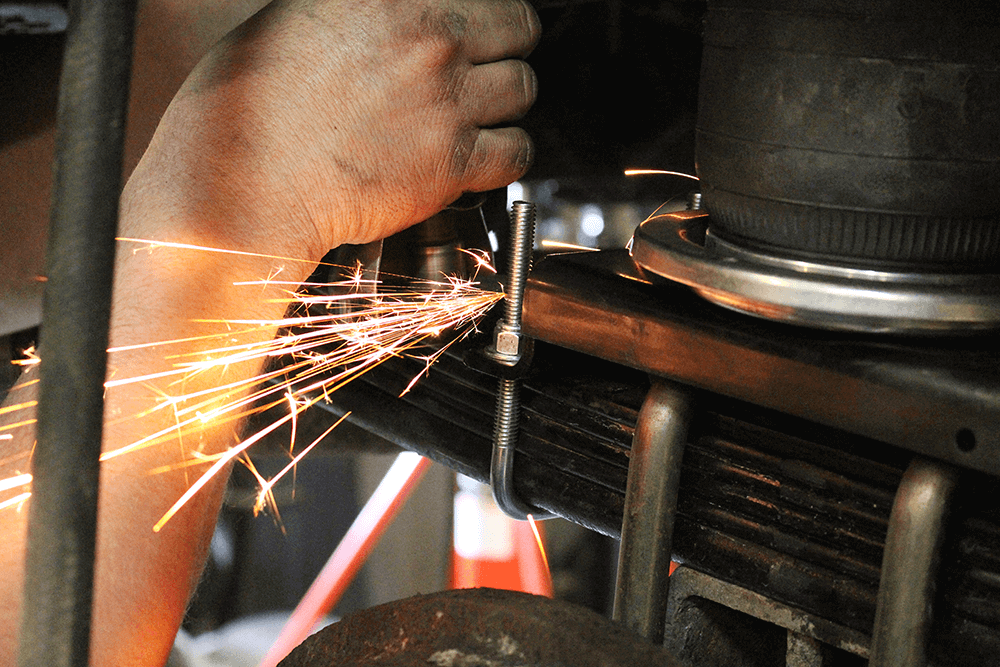
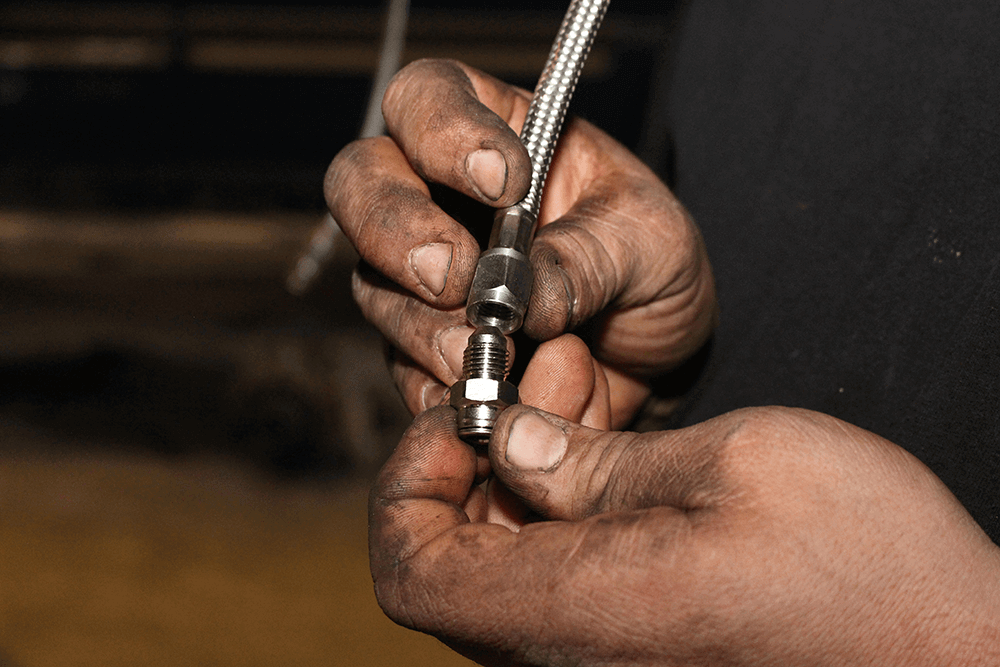
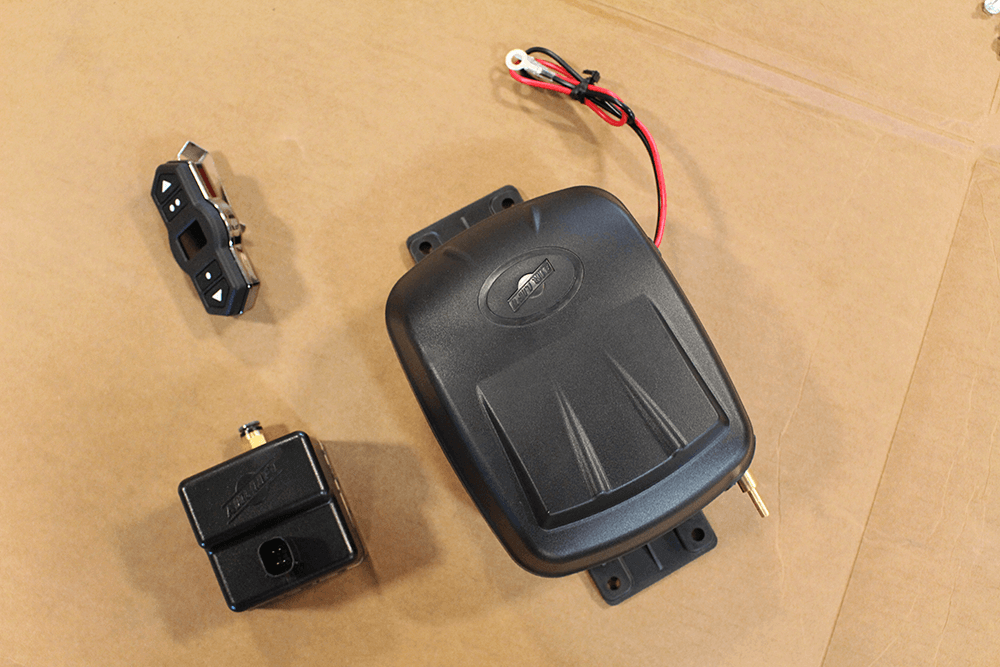
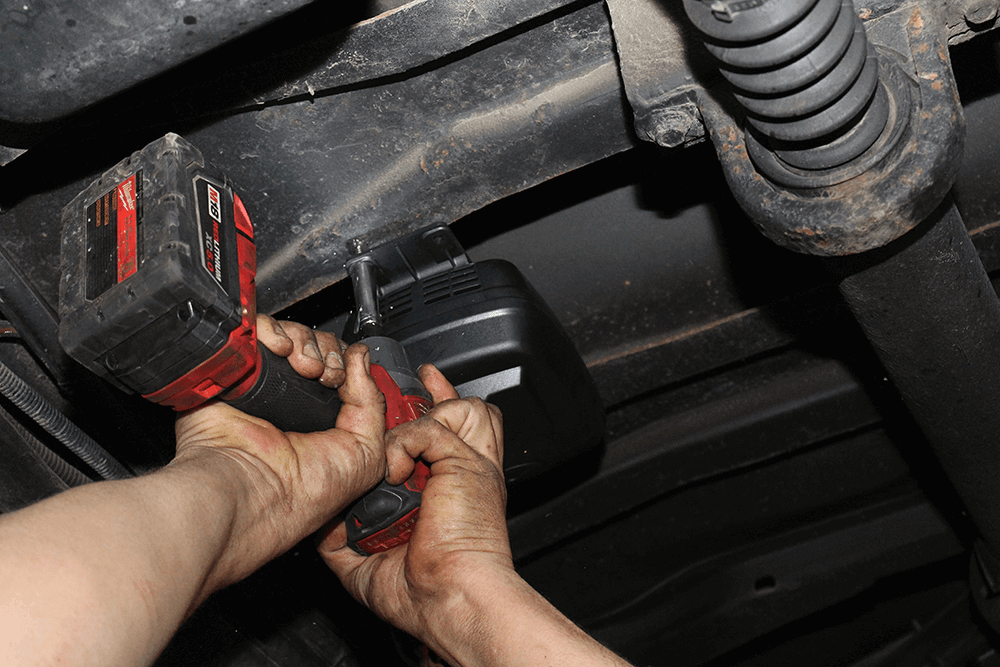
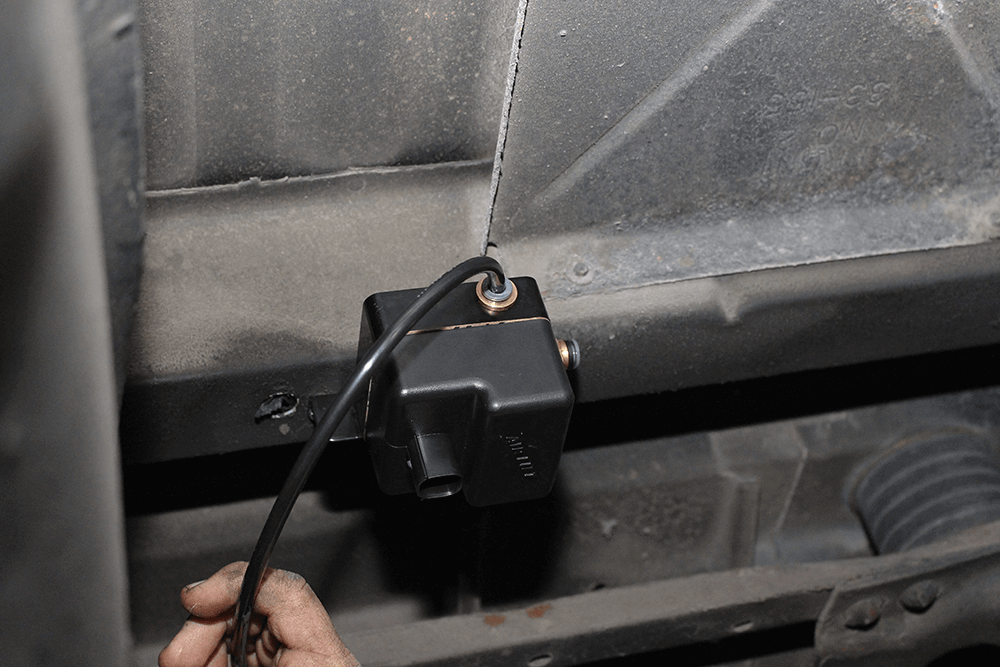
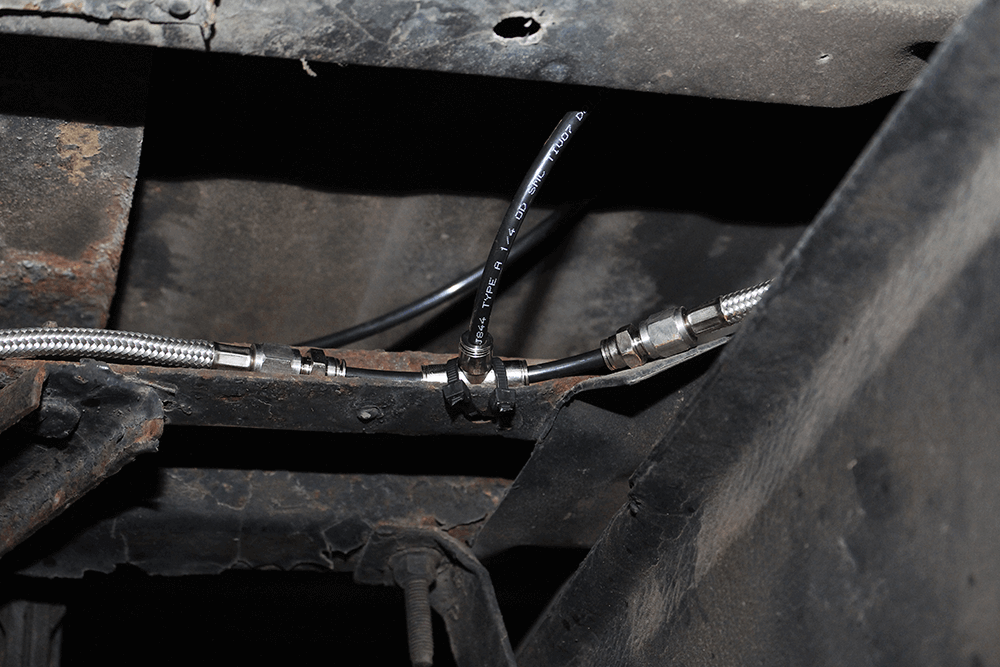
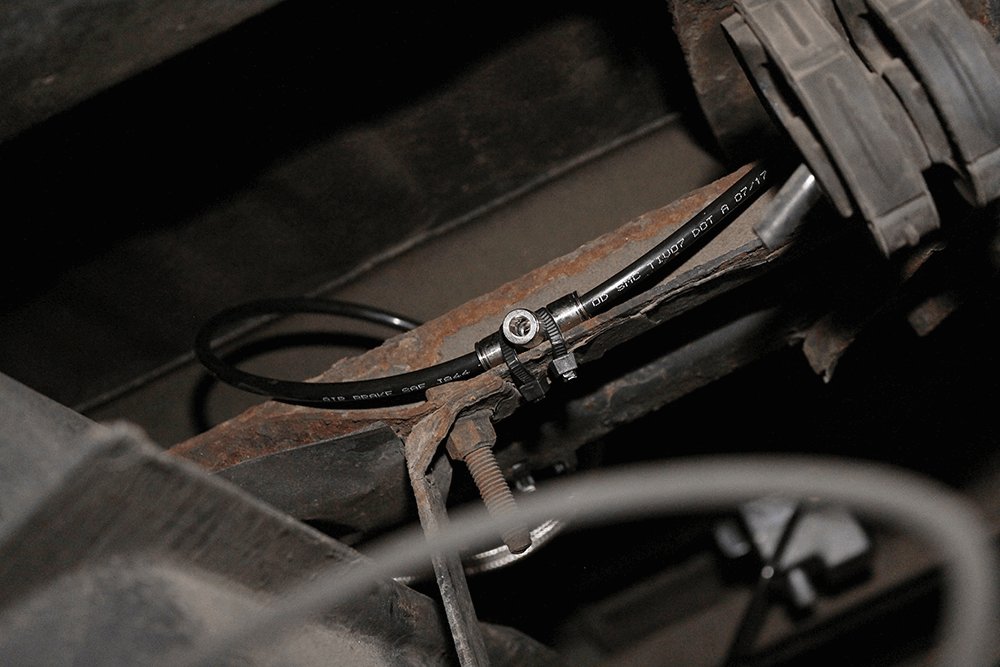
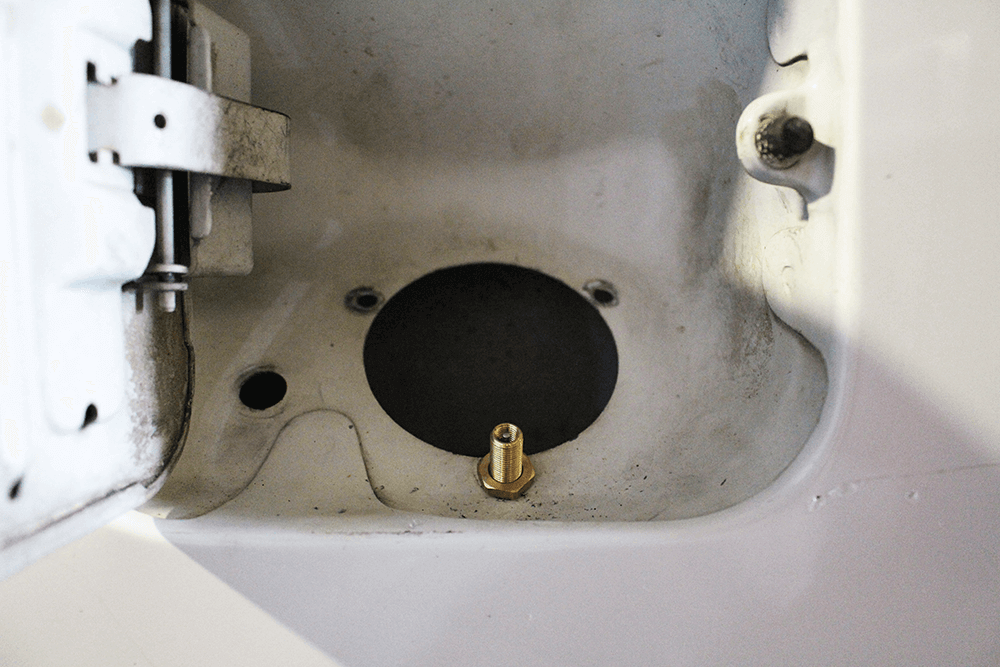
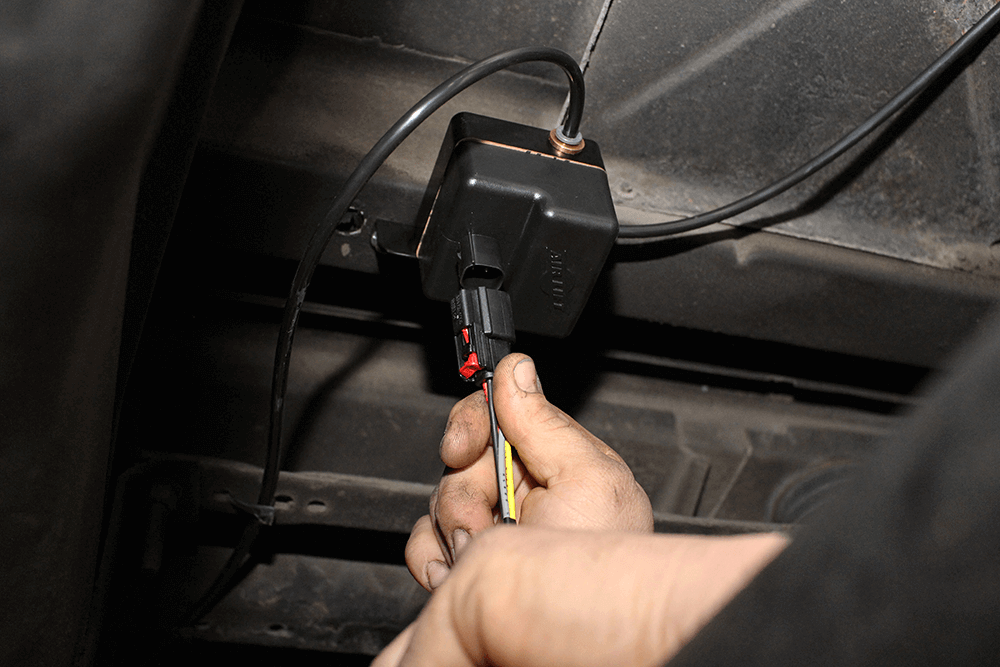
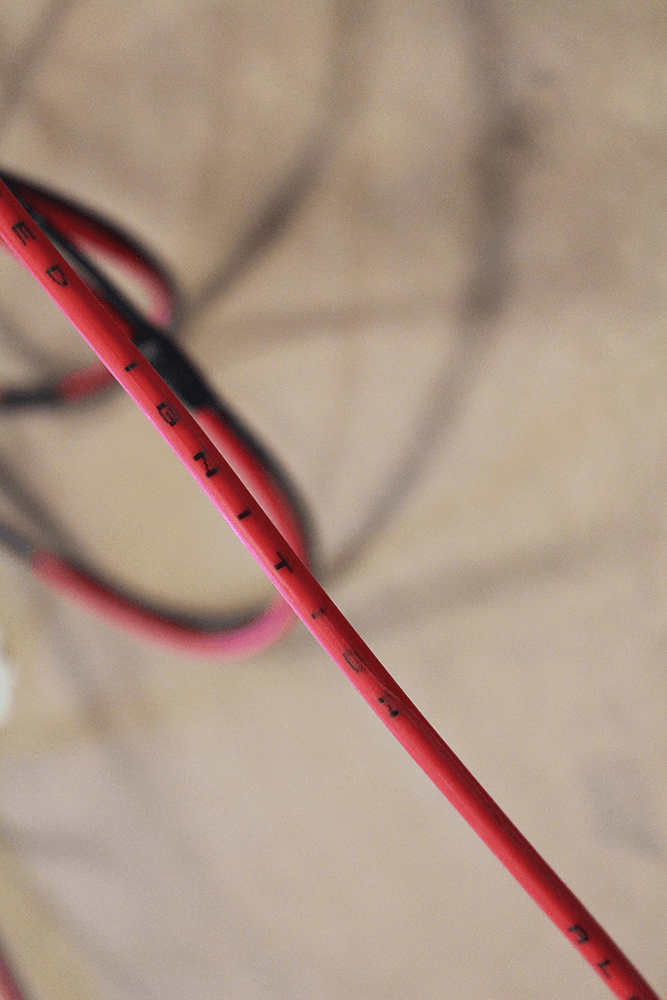
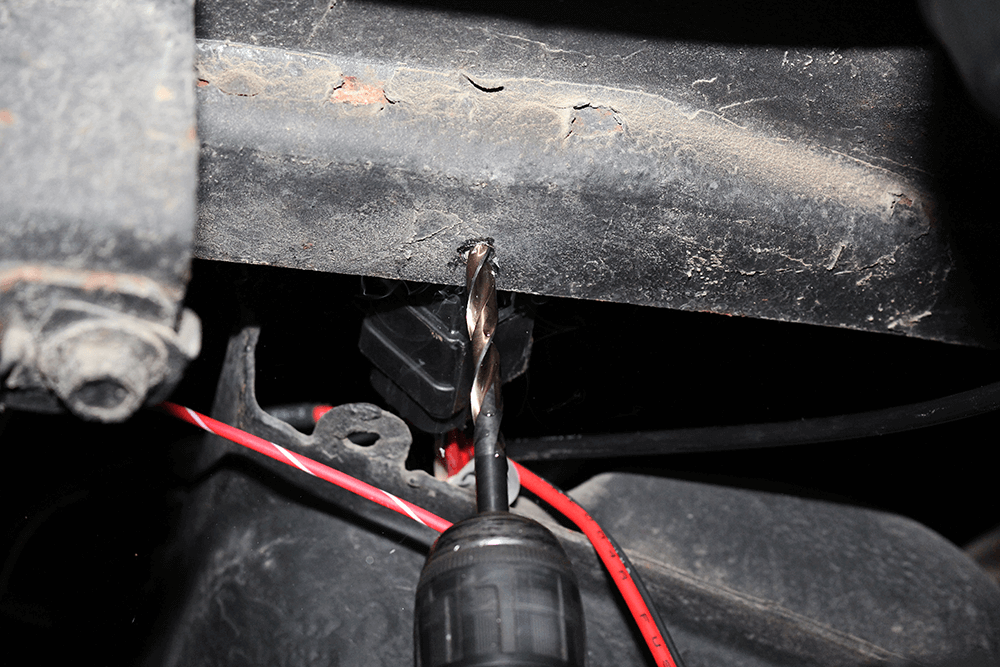
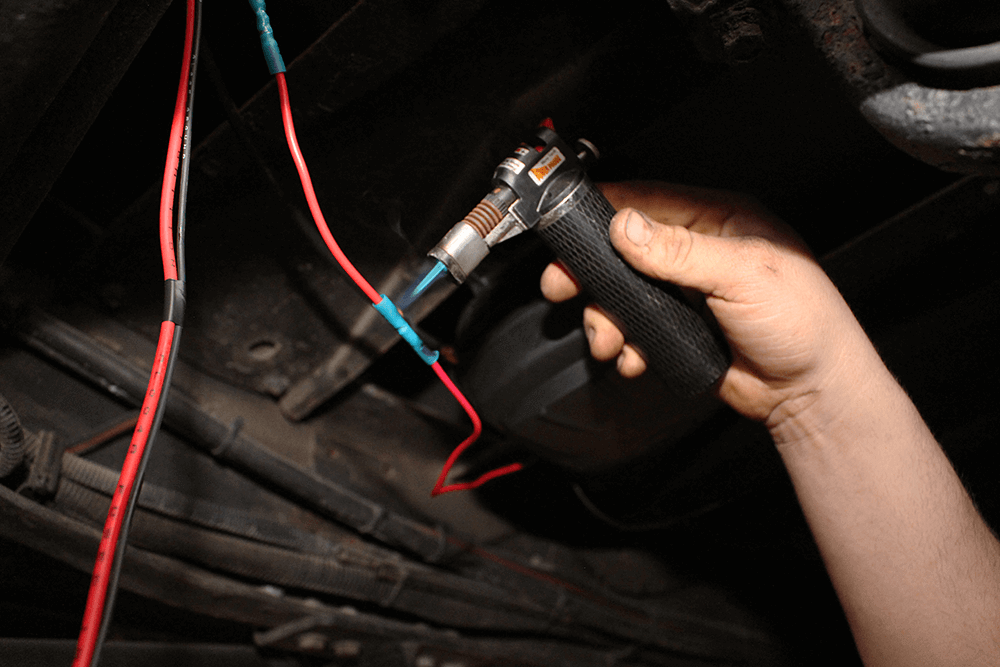
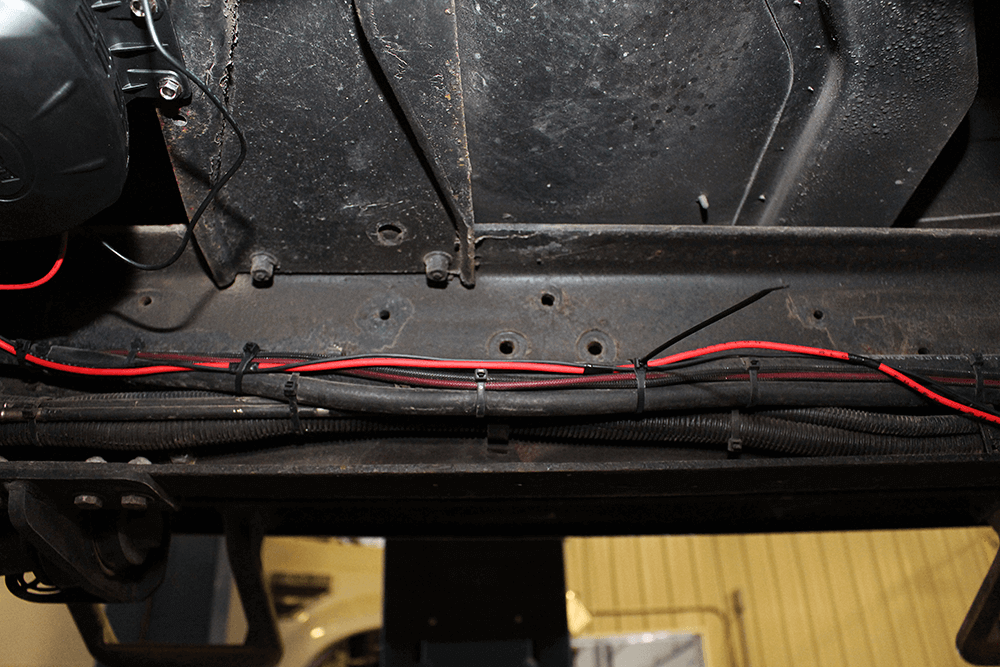
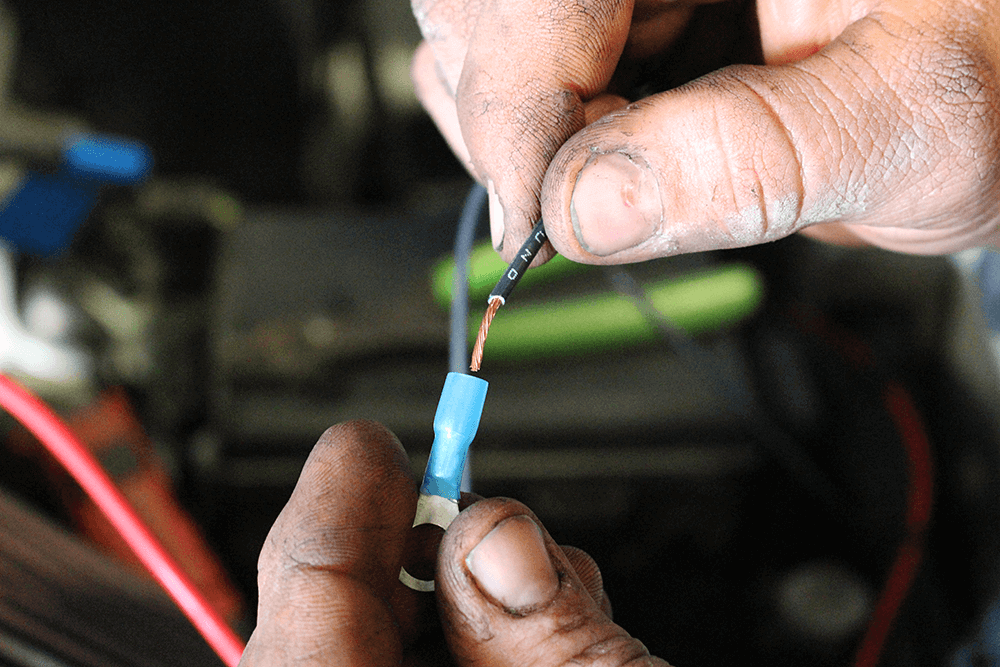
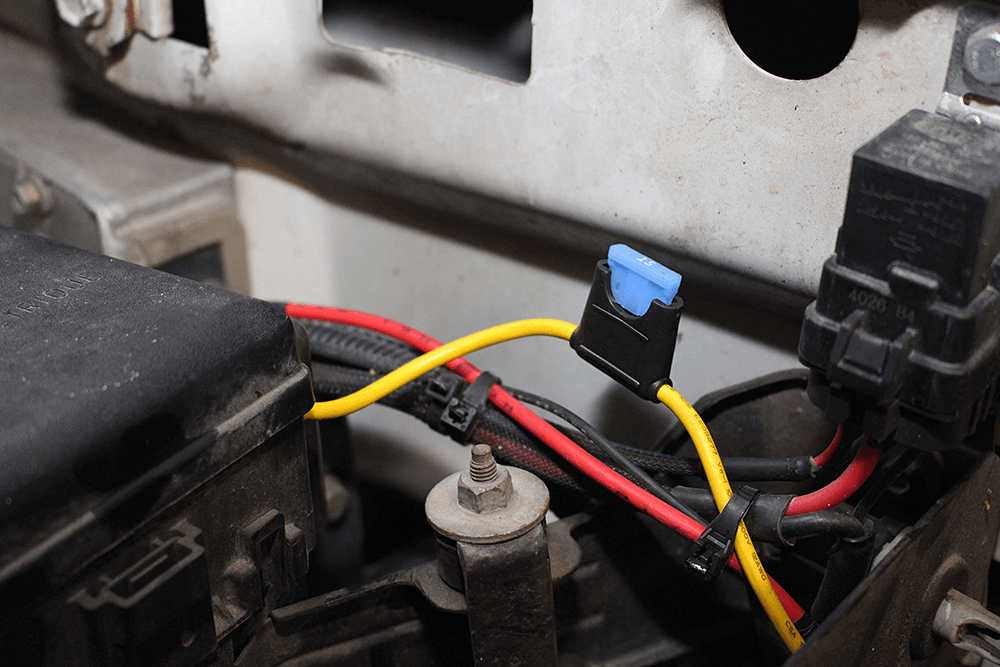
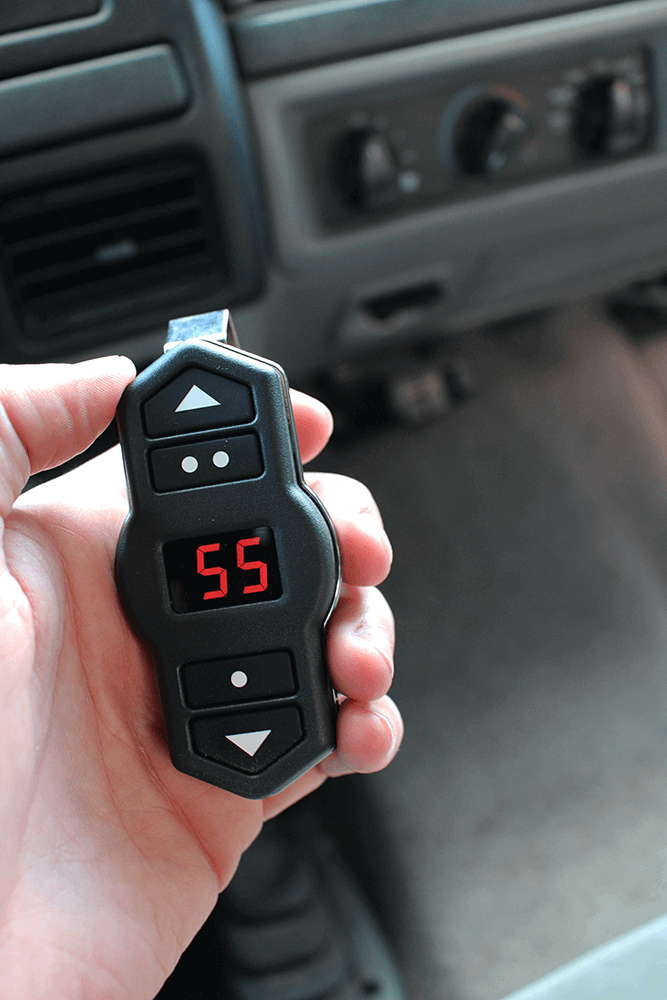
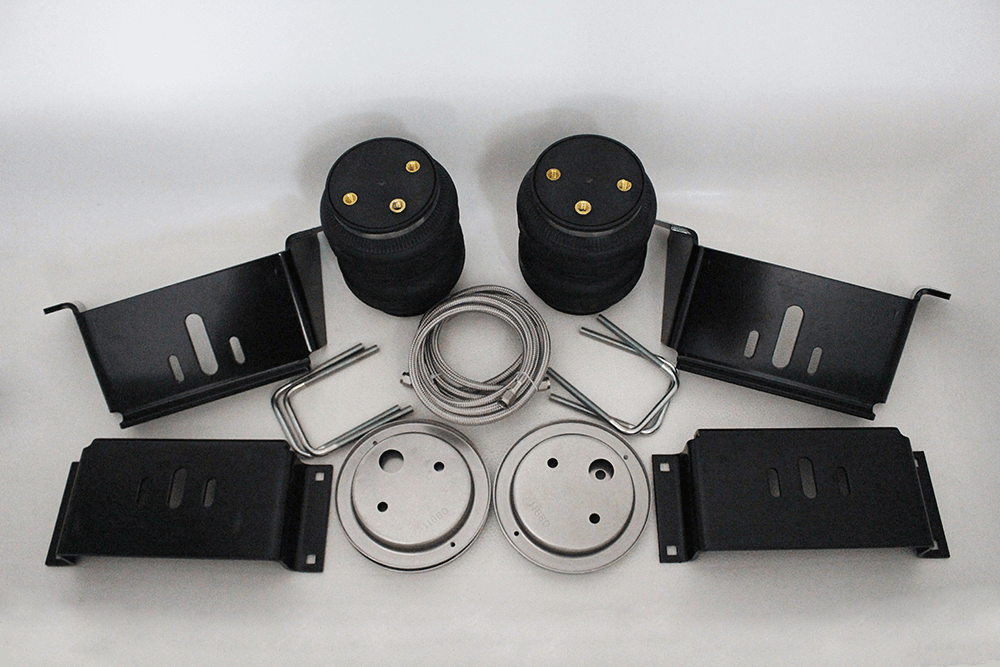
Up next TIMELESS Published on May 09, 2019 Author Mike McGlothlin Tags 7.3L, power stroke, Share article Facebook 0 Twitter 0 Mail 0 OPERATION OLD SCHOOL TOW RIG: PART 2 Leveling Off the Suspension After installing new leaf springs, hangers, shackles and U-bolts in Part 1, prepping the suspension on our ’97 F-350 for active tow duty continues this month with the addition of air springs. While air spring systems don’t increase the towing (or payload) capacity of your truck, they can drastically improve the experience through added stability, better ride quality and—most importantly—improved control. With their ability to keep the rear suspension level no matter the load, air springs allow your truck to tow exactly as it was intended. This means your steering, braking and handling isn’t compromised with your most prized possession(s) behind you. There’s no more bottoming out due to suspension squat, no more blinding oncoming traffic with your headlight aim, and trailer sway can even be reduced. Air Lift’s Load Lifter 5000 Ultimate Plus system (PN 89215 in our case) builds on the company’s Load Lifter 5000 and Load Lifter 5000 Ultimate kits, adding stainless steel roll plates, braided stainless steel air lines and stainless steel air spring mounting hardware to the mix. The system still boasts up to 5,000 pounds’ worth of load leveling capacity, but the premium stainless steel components lend the kit the utmost in durability. The Load Lifter 5000 Ultimate Plus also comes with upper and lower mounting brackets, U-bolts and all the necessary installation hardware. The Load Lifter 5000 Ultimate Plus can be had for $400 to $470 depending on where you buy it. With the truck positioned on a two-post lift, Jake Bosie of Flynn’s Shop got started by installing the supplied 90-degree swivel fitting in the top of each air spring. These AN-type fittings come with their threads pre-wrapped with Teflon tape from Air Lift—a nice insurance measure to guard against the possibility of an air leak in this hard-to-reach area. Slots in both the lower and upper mounting brackets provide for inward and outward adjustment of the air springs’ final positioning over the leaf springs. We opted to push each air spring all the way inward (toward the frame), where it was perfectly centered over the leaf springs. The brackets included in Air Lift’s Load Lifter 5000 Ultimate Plus system are definitely over-engineered for the job, with all bracketry measuring ¼-inch thick. Four 3/8-inch washer-head bolts and nylon lock nuts secure each upper bracket to the frame. To know where to mount the upper brackets along the frame, the truck had to be left sitting on the ground at its natural ride height. Bosie pieced together each air spring assembly first, attached it to its respective leaf spring pack via the supplied 3/8 x 4.5-inch U-bolts, and then added the upper roll plate and mounting bracket. With each air spring assembly tightened to the leaf springs and loose at the frame, Bosie used a paint pen to mark the mounting points for each upper mounting bracket. Next, four mounting holes would have to be drilled in the frame. After the mounting points for the upper brackets were marked, Bosie took a punch and hammer to the center of each mark to make sure the holes were drilled exactly where they needed to be. Then a 3/8-inch drill bit was used (at low speed and with cutting oil so as not to damage the bit) to penetrate the frame. Realizing the 90-degree swivel fittings at the top of the air springs would be nearly impossible to access once the air spring was secured to the top bracket and the top bracket fastened to the frame, Bosie pulled both assemblies back off. He then set the top roll plate in place and attached the braided stainless air lines. The upper bracket and top roll plate were both secured to the top of the air spring via the supplied 3/8 x 7/8-inch stainless hex-head cap screws, lock washers and flat washers. The same hardware was also used to attach the bottom roll plate. We’ll note that in our pre-Super Duty Ford application the upper bracket effectively covers the factory indention at the rear of the frame. Here, Bosie anchors the upper bracket in place with the supplied 3/8 x 1.5-inch frame bolts, 3/8-inch flat washers and nylon lock nuts. To fasten the lower brackets in place over the leaf springs, the truck had to be lowered with the rear axle supported. Instead of reinstalling the wheels and tires, Bosie placed jack stands under the axle. Because leaf spring stacks can vary, Air Lift includes eight U-bolts to mount its lower brackets in place. Four measure 4.5 inches in length, while the other four are 2.5 inches long. We opted to use the 4.5-inch units. Because we elected to use the 4.5-inch U-bolts, plenty of excess thread was showing once all lock nuts had been cinched down. To clean things up, Bosie broke out the die grinder and cutting wheel and cut them down for us. With a reputation for offering some of the highest quality air spring products on the market, Air Lift was our first choice for a complete, bolt-on system. The company’s latest kit, the Load Lifter 5000 Ultimate Plus, is built for optimum longevity as well as improved towing performance. The Ultimate Plus brings select stainless steel components and hardware to the table, along with each air spring incorporating Air Lift’s industry-exclusive internal jounce bumper for additional shock absorption. To conveniently control air spring pressure, we opted for Air Lift’s user-friendly, easy-to-install and economically priced Wireless ONE compressor system. Once again turning to the folks at Flynn’s Shop in Alexander, Illinois, for a helping hand, our old body style Ford was fitted with the new air spring and compressor systems in a little more than six hours’ time. This concludes our suspension upgrades for our OBS Ford. Next we’ll turn our attention to replacing the rusty factory hitch with a Class V unit. We’ll also add a new trailer brake controller and several security accessories to help further improve the overall towing experience.Subscribe Our Weekly Newsletter Moving on to the installation and routing of the air lines, Bosie threaded both supplied AN to PTC (push to connect) straight fittings into the braided stainless steel air lines. The only drawback to having braided stainless air lines (if you can even call it a drawback) is the fact that the lines can’t be cut down. Knowing this, Bosie made sure to route the braided lines so excess line could be coiled and secured in an area safe from the elements. At this point it was time to integrate the Wireless ONE compressor system with the Load Lifter 5000 Ultimate Plus system. The primary components of Air Lift’s Wireless ONE kit (other than the wire harness and ¼-inch nylon air lines) are a standard-duty compressor, weather-resistant manifold and a wireless remote. A universal system, the Wireless ONE works with any air spring system on the market and retails for less than $300. Using the self-tapping screws supplied in the Wireless ONE kit, Bosie mounted the compressor to the truck’s mid-ship cross members. Positioning it behind the transfer case but in front of the factory front fuel tank keeps the compressor away from any sources of heat, offers ample protection and should also keep the unit dry. Per Air Lift’s directions (which state that the manifold should not be the lowest point in the pneumatic system), Bosie mounted the manifold to the bottom of the first bed support, which was higher than where the compressor had been located. From there, a section of the supplied ¼-inch nylon air line was attached to the inlet of the manifold (shown), while the other end was pushed onto the barbed outlet fitting on the compressor. Next, both braided stainless air lines were tee’d together using a supplied ¼-inch PTC tee and cutting a few short sections of ¼-inch nylon air line to length. The tee itself was secured to an existing hole in a factory cross member via two zip ties. After that, nylon air line was routed from the manifold outlet to the tee. For customers who prefer to manually inflate or deflate their air springs, Air Lift includes two AN Schrader valves with its Load Lifter 5000 systems. In our case, we wanted a back-up/emergency plan in case the compressor ever became damaged or quit working. Using the second supplied tee in the Wireless ONE kit, Bosie ran nylon air line along the driver-side frame rail, toward the rear fuel door. When you open up the rear fuel door this is what you see: a Schrader valve. Keep in mind that because our rear fuel tank had previously been discarded the filler neck had also been removed. Making use of the empty space, Bosie simply repurposed the bottom mounting hole for the filler neck—and now we have a reason to peek behind door number two. Power is brought to the manifold through the included wireless harness, which simply plugs into it. Once fully seated onto the tight-fit connector the red tab is pushed down for a secondary lock. A whole host of electrical hardware is supplied with Air Lift’s Wireless ONE kit, including spades, 12-to-14 gauge and 12-to-10 gauge butt splices, self-tapping screws, a fuse holder, ring terminals and a compressor relay. The sheath around the wiring in the harness is even labeled “ignition” or “ground” for a fool-proof install. To keep the compressor relay out of harm’s way it was mounted on the top side of the cross member in front of the front fuel tank, halfway between where the manifold and compressor were mounted. We’ll note that in the Wireless ONE kit the amount of wire supplied dictates that the manifold and compressor be mounted within 24 inches of one another. Tying the compressor in with the wire harness called for Bosie to strip a section of insulation off the red wire and use the supplied butt connectors. First the weatherproof splices were crimped, then they were heat-shrunk for a water-tight seal. Bosie ran the remainder of the wire harness along the frame rail, toward the fuse box in the engine bay. The wiring would be secured to the truck’s existing wire harnesses and fuel lines via zip ties supplied by Air Lift. Up under the hood, Bosie stripped the end of the ground wire and installed the supplied 3/8-inch ring terminal, which would be attached to the negative battery terminal. At the other end, the ground wire was secured by one of the self-tapping screws that mount the compressor to the mid-ship cross member. For key-on power, we piggybacked onto the power side of the 15-amp ignition fuse in the truck’s fuse box using the fuse spade supplied by Air Lift. A 15-amp inline fuse is employed for sufficient protection of the Wireless ONE system. Air spring pressure is controlled with this easy-to-use, handheld remote control. With the ignition keyed on, the battery-operated wireless remote’s digital gauge comes to life with the push of a button and air adjustments can be made one psi at a time or in increments of five, from 5 to 100 psi. For truck owners who tow the same loads often, three pre-configured settings can be saved to the remote’s memory, saving the hassle of fine-tuning the air springs each time. Finally, thanks to a visor clip on the back side, the remote can be stowed up and out of the way when not in use. SOURCES Air Lift 800.248.0892 AirLiftCompany.com Flynn’s Shop 217.478.3811 Total 0 Shares Share 0 Tweet 0 Pin it 0 Share 0